If you like this post, help us share it

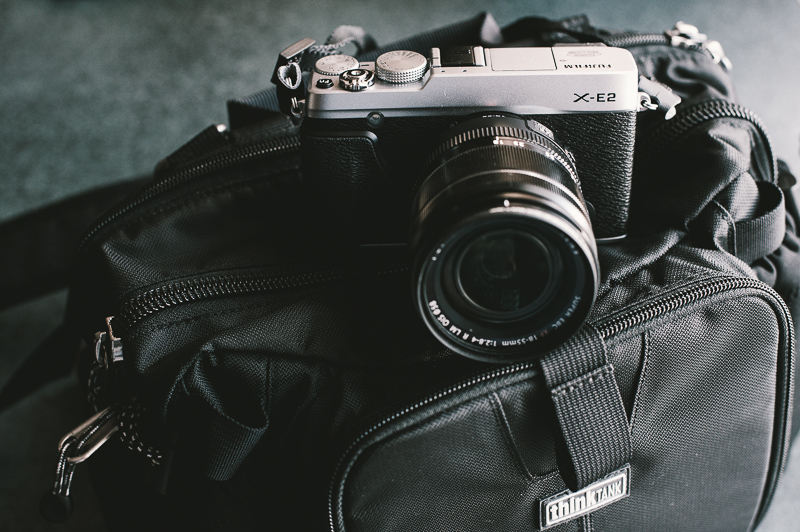
I must admit I have hopped onto the Fujifilm X-E2 wagon quite late. Fujifilm X-E2 was announced back in Oct, 2013 followed by the announcement of X-T1 three months later in Jan 2014. At that time I waited for the hype to extinguish before deciding which camera is more suited for my work. Although both X-T1 and X-E2 equip the same 16MP X-trans CMOS sensor and many of the core features, their exterior design is quite different and hence targeting different users. I have chosen the X-E2 because I like the rangefinder look and its smaller footprint. I am using the X-E2 as my casual camera so it is good to have something smaller.
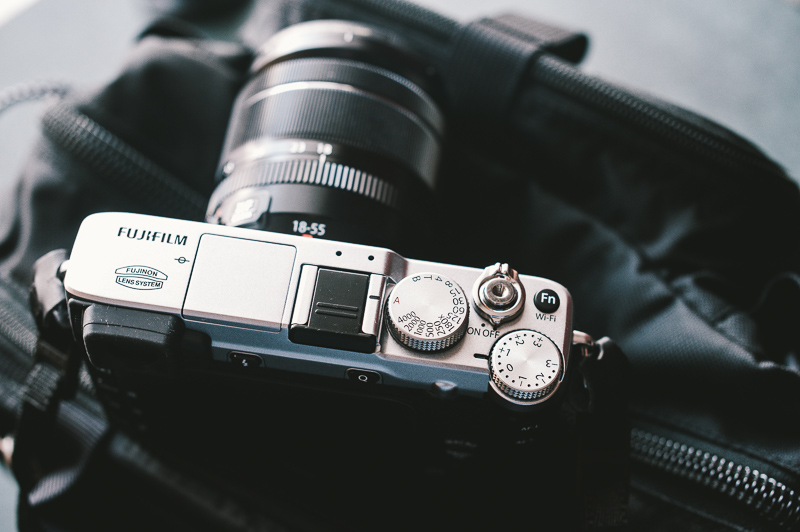
Previously, I have been using the Fujifilm X-M1 extensively, I like its extreme compactness, it has the same sensor as the X-E1 but a better LCD, Wifi capability and faster EXR processor. Only until recently, I have decided to upgrade to the X-E2 for a number of reasons which I will discuss in another post later, one of which is how much better the X-E2 feels in the hand. The size of the X-E2 is very much identical to the X-E1, with the same basic body and control layout. The most obvious difference is the back LCD which is now a 3” 1.04M dot LCD and it supports live exposure preview in M mode. The top plate shutter speed and exposure compensation dials have received minor tweaks, with 1/180s X-sync has been added to the shutter dial and +/- 3EV has been added to the exposure compensation dial. The EVF has also improved frame rate in low light, making it much more useable in the dark. The sensor of the X-E2 has upgraded to include on-chip phase detection for autofocus powered by the new EXR processor II, so expect a significant improvement with the AF speed.
You can order the Fujifilm X-E2 here
Here is a list of some of the improvements on the X-E2
- Exposure compensation dial offers expanded range of +/-3
- Shutter speed dial adds 1/180sec X-sync position, and increases separation of ‘A’ position
- Separate AE-L and AF-L buttons
- AF point selection moved to 4-way controller (reflects recent X-E1 firmware revisions)
- Old AF point selection button is now customizable Fn2 – sets white balance by default
- Four customizable buttons in total (Fn1, Fn2, AF, AE)
- Repositioned ‘Q’ button (less likely to be pressed accidentally)
- View mode button removed (now a menu setting)
- Low-speed (3 fps) continuous shooting mode, with focus tracking and live view between frames
- AF-C no longer limited to centre of frame – uses same 49 point array as AF-S
- Configurable Auto ISO (max and min ISO, minimum shutter speed)
- Exposure preview in Manual exposure mode (can be disabled in menu)
- Three manual focus aids (magnified view, peaking display, digital split-image)
- Face detection autofocus/autoexposure available (enabled as menu setting)
- JPEG-only bracketing modes hidden when shooting RAW
- ‘Advanced Filter’ creative shooting modes (JPEG-only)
- Multiple exposure mode moved to drive menu, grouped with panorama mode
- 14-bit Raw recording
- 1.8x faster file write times
- Improved EVF framerates in low light (60 fps vs 20 fps)
- Zoomed-in focus check view available in AF mode (by clicking rear dial)
- Conventional playback and file naming of images shot in continuous drive mode
- Images can be deleted when viewing them zoomed-in
- Exposure settings can be changed when AE-L is engaged
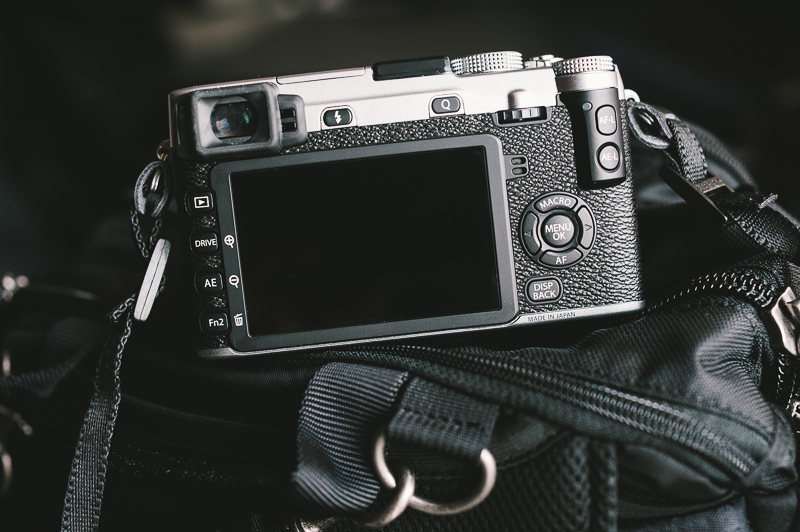
My first impression of the X-E2 is it feels exactly the same as the X-E1 which is not a bad thing consider the X-E1 is a very solid camera. Comparing to the X-M1, the X-E2 is much more solid, it is slightly bigger but it fits in the hand much better. The AF-L and AE-L are now two separate buttons which make locking focus and exposure easier. The Q button is now located next to the thumb wheel, I feel a lot of the settings in the Q menu has dedicated buttons on the camera itself already (WB, ISO, AF, etc), making the Q menu less useful. The X-E2 allows eight custom profiles to be set up, the custom profile is more useful towards JPG shooters where you can set different saturation, sharpness, contrast, etc for your JPG output. If you are a RAW shooter, this function is less useful to you. A trick that I use is set one of the profile with self timer on, so you can quickly turn it on by selecting the appropriate profile (much quicker than going in to the menu).
The EVF is a nice features on the X-E2 , I particularly like its placement at one side of the camera rather than in the middle like the X-T1. Certainly, the colour, brightness, details and DoF viewed through an EVF are no where near of an OVF, but I still find it useful under a bright day light and when I don’t want to look at the LCD like a tourist. A good thing about EVF is you can preview the exposure setting and make changes accordingly.
Fujifilm has included both peaking mode and digital split image mode to assist with manual focusing. Personally, I don’t use either of them I find them too distracting on the screen, but I know a lot of people like them hence Fujifilm has added them in.
In my opinion, the operation of X-E2 is much better than other mirrorless cameras, the shutter dial at the top is more useful than a mode dial seen in most mirrorless cameras. Using the shutter dial to control the shutter speed is very convenient. Every click of the dial is a stop of shutter speed and then a 1/3 of a stop adjustment via the thumb wheel. This means I have full control of adjusting one stop or 1/3 of a stop by turning the respective dials. The ergonomic design of the X-E2 is brilliant, all the common settings are at the finger tips.
| Placement | Camera Settings |
| Top | Shutter speed, exposure compensation, ISO |
| Left | Play, AF drive, AE (metering mode), Fn2 ( WB) |
| Right | AF-L, AE-L, AF focus point |
| Q menu | Image Quality (RAW/JPG), Self Timer |
| Front | AF-S/AF-C/M |
| Aperture Ring | OIS, Aperture |
Having said that, it can get a bit confused as to how to switch between PASM modes without a model dial. It takes a bit of practice to get use to:
- P mode – Set both aperture ring and shutter dial to “Auto”
- A mode – set shutter dial to “Auto” only
- S mode – set aperture ring to “Auto” only
- M mode – do not set anything to “Auto”.
I haven’t had much chance to use the X-E2 yet, but I have planned a studio shoot with it and I can tell you more about it (tips and tricks, performance and handling) after that. So far it feels like a solid camera, certainly feels much better than the X-M1 and X-E1.
I had the opportunity to do a quick high ISO test and the samples are shown below. All the images were taken in RAW and converted to JPG from Lightroom 5.5 with no NR except the images from 12800 and 25600 which are straight out of the camera (X-E2 des not allow to shoot RAW at ISO 12800 and above). It is great to see the noise control up to ISO1600 is very pleasant which is expected from an APS-C camera. But I am surprised to see at ISO 3200, the image is still holding up very well. Any higher ISO, you are looking to lose quite a bit of details and expect heaps of noise.
Do you have any tips and tricks for this camera? Leave us a comment below.

Original Image

ISO 800 100% crop

ISO 1600 100% crop

ISO 3200 100% crop

ISO 6400 100% crop

ISO 12800 100% crop

ISO 25600 100% crop
Where can I find the equipment seen on this site?
If you find this site useful and planning to purchase any of the equipment seen on this site, please show your support by purchasing your photo equipment at B&H Photo Video, or through any of the affiliate links seen on this site.
