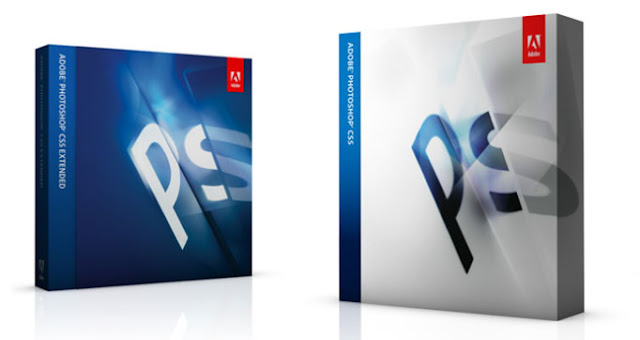
It has been a month since the launch of Adobe Photoshop CS5, I have finally got my hands on a copy of Photoshop CS5 Extended today. Prior to the launch there were sneak previews on many of the new features in Photoshop CS5. There have been lots of talks on these new features and whether CS5 is worth the upgrade. So what are some of the new features?
You can order your copy of Adobe Photoshop CS5 at B&H here
Content-Aware Fill
Superior HDR imaging
Automatic lens correction
Refine Mask
Puppet Warp
Camera RAW 6
Paint tools and UI improvements
Better workflow, media management and integration
Amongst the new features, the two most controversial are Content-Aware Fill and Automatic Lens Correction. Automatic Lens Correction was once the main selling point for DxO, but now also included in CS5. It works by automatically corrects lens distortions, chromatic aberration, and vignetting. It uses an image file’s EXIF data to make precise adjustments based on the type of camera and lens you used.
In this post, I will concentrate on the new Content-Aware Fill feature and see if it is as impressive as it shows in the sneak preview. Content Aware Fill is sort of like a combination of the Patch Tool and the Spot Healing Brush. It examines the area around a selection and replaces it based on what it decides is a good match, all this done automatically which can save a lot of time.
Enough introduction, here are some working examples.
In this image, I applied Content Aware Fill to fill the back ground with trees to give a less distracted background. Basically, I just selected the blue area and then Content Aware Fill. All done in a few seconds. Worked pretty well I think.
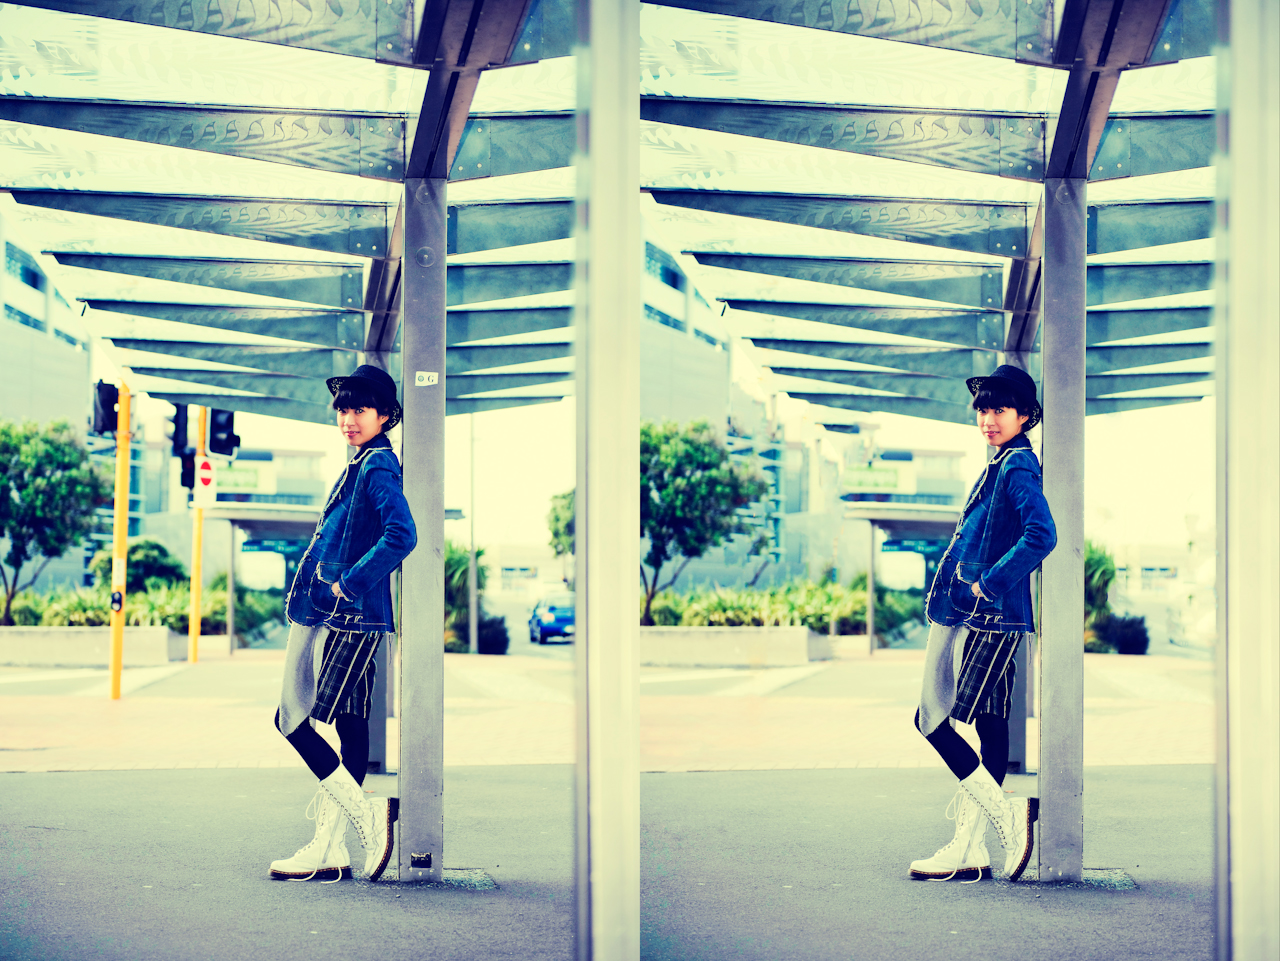
Here, I applied Content Aware Fill to remove some of the distracting background. This is a bit more tricky but also worked pretty well.
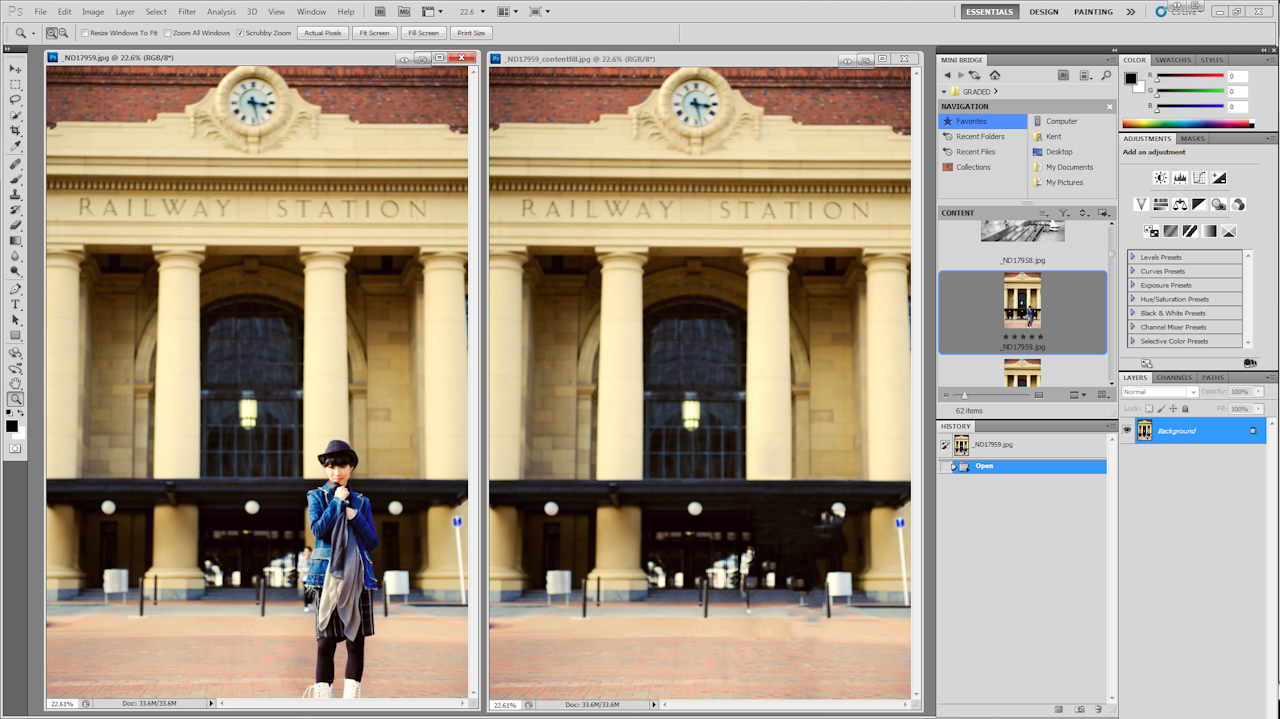
To really test out Content Aware Fill, in the below image I try to remove the model in the foreground. I had to apply Content Aware Fill several times to give a reasonable patch up.
You can also see the new CS5 interface from the below image, the obvious difference is the new mini bridge feature above the history windows. In the “after” image, you can see that Content Aware Fill did a pretty good job removing the model but it didn’t know what’s behind her, so the pillar is still missing. Up to this point all the hard work has been taken care of by Content Aware Fill and it was effortless . In CS4, you would have to use the Clone Tool, the Patch Tool, or the Spot Healing Brush to manually do it.
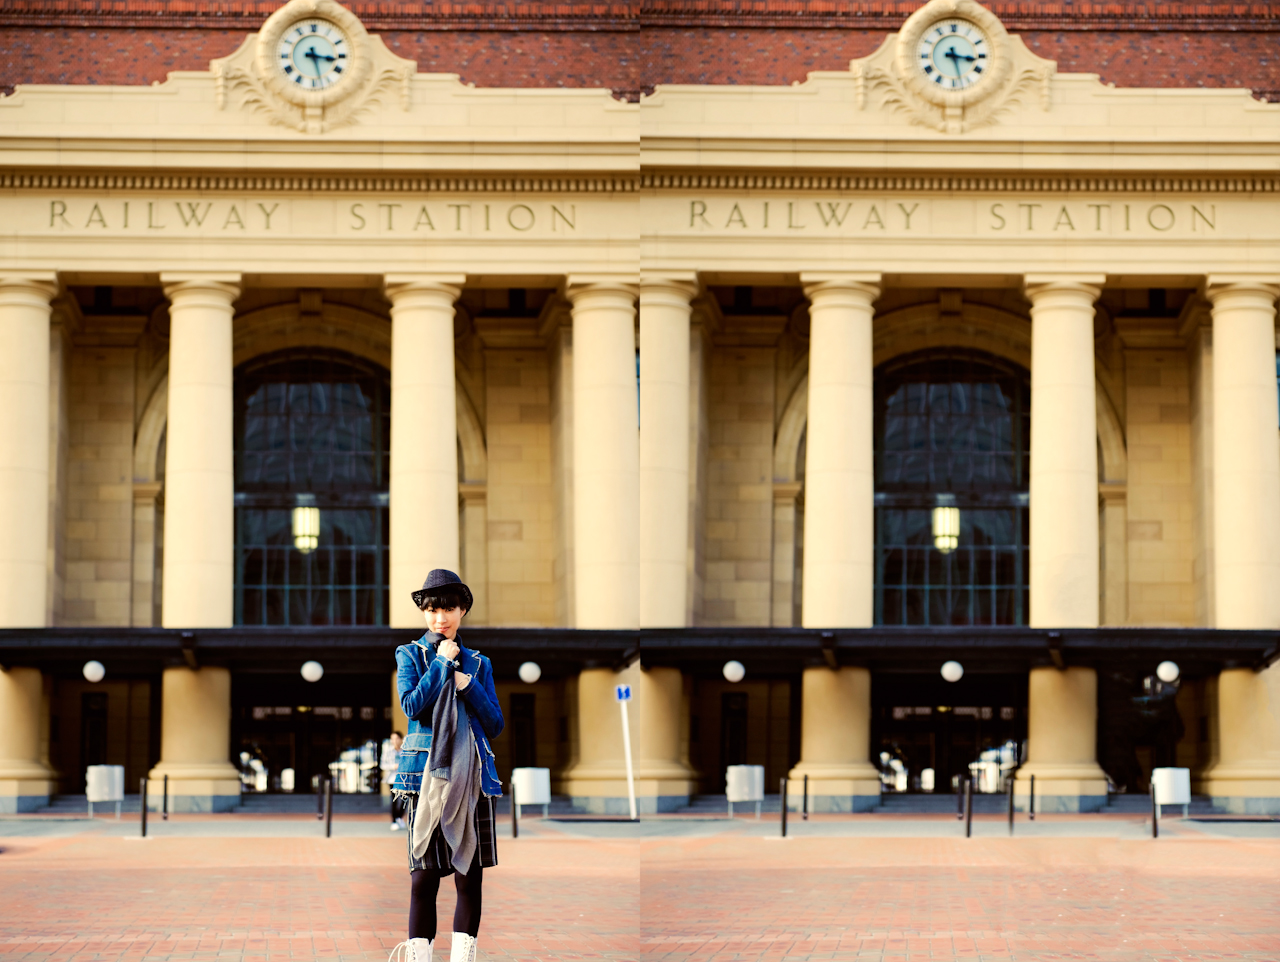
To finish off, I then used the Clone tool to add the pillar back to the image. Here is the before and after image. To get the same results in Photoshop CS4, it would take much longer.
Remark
It is true that Content Aware Fill can speed up the process of removing or patching up parts of the image, but you can’t expect it to work for all images.
Where can I find the equipment seen on this site?
If you find this site useful and planning to purchase any of the equipment seen on this site, please show your support by purchasing your photo equipment at B&H Photo Video, or through any of the affiliate links seen on this site.
Kent is a professional wedding and portrait photographer based in Queenstown and Wellington, New Zealand. He creates beautiful, natural and story telling wedding photos. Kent has his work published in international magazines and is a regular author to a number of photographic publication. He is fascinated by photographic equipment and enjoys showcasing the gear used in creating his images. You can find him on Instagram, Facebook, Twitter