If you like this post, help us share it

Before getting yourself into multiple lighting setups, it is a good idea to learn the basic first and be comfortable with using one or two lights. Check out our previous post on simple portrait lighting setups if you want to learn more.
As I have mentioned before the most important aspects for creative lighting are to have a concept in mind and know how your lights and modifiers behave. It is so important to know what you want before you start.
Last week I had a studio shoot which I had planned to create some high contrast images. The studio that I was shooting in was fairly bright and since I wasn’t using any V flats, I had to reduce the ambient light by using a higher f-stop and shutter speed. I have also gridded the modifiers to give me a narrower light and stops the light from spilling. Understanding how your light shaping tools (modifiers) work is crucial for setting up high contrast lighting, for more information on how each light shaping tool works check out this Profoto site.
Knowing what kind of light I want and how I want the shadow to fall on the subject and background enable me to choose the right modifier. In the studio session, I have picked a number of modifiers to help me to create these high contrast images.
For all your lighting and studio needs, check out B&H’s lighting section.
These modifiers are all gridded and are what I considered light shaping modifiers for high contrast. They are different to typical softboxes which are used to enlarge the light area so the light is more diffused.
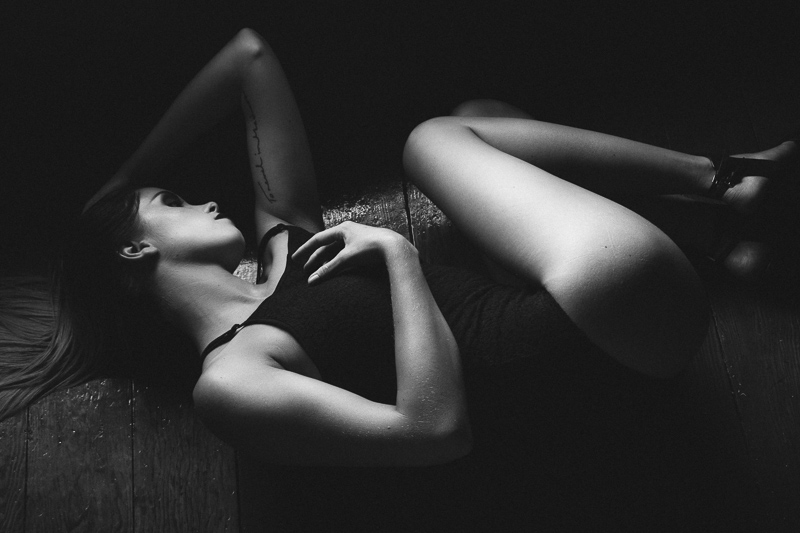
Here are some images taken on the day using the above modifiers. This image I have used a gridded softbox, placed the light on the right hand side. You can notice the light is very focused and narrow, it is just wide enough to light up the subject without spilling all over the floor.
For a wider head shot, I have turned to a gridded beauty dish and placed it right above the subject. It is one of my favourite modifiers for portrait, it creates beauty lighting on the face without any hot spots, but the light does fall off very quickly.

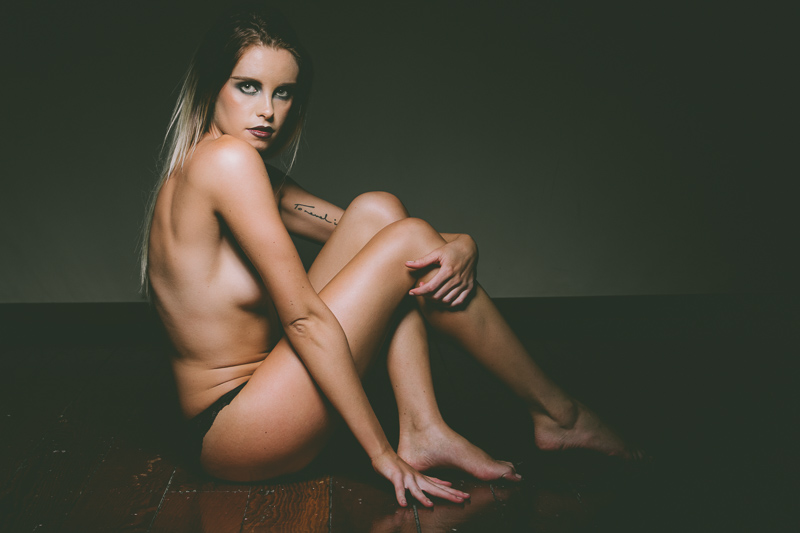
This is also taken with a beauty dish but pulled back a little to provide a wider coverage. The beauty dish is gridded to prevent spills to the background.
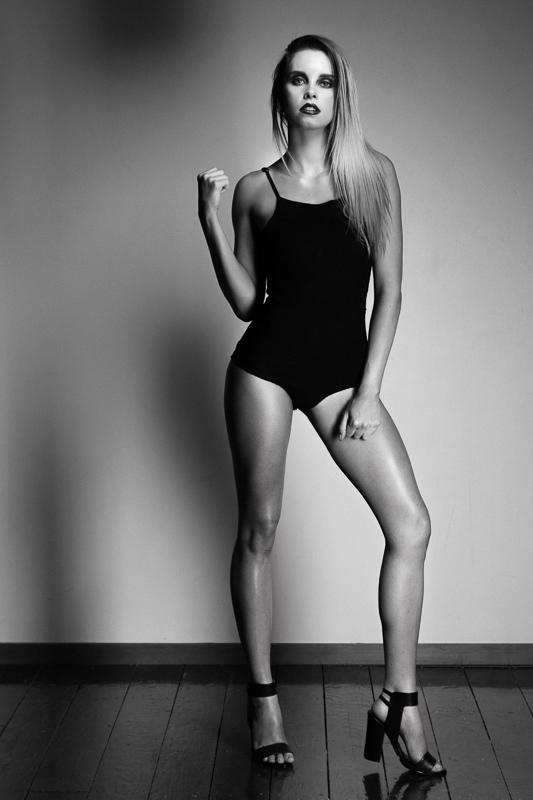
For a full body shot, I opted to used two strobes here. One responsible to light the upper torso and another one for the lower torso. I could of used a full length strip box here, but I wanted to create more shadow patterns hitting the background so I have decided to use two strobes. One strobe is gridded with a beauty dish and the other one gridded with a 50 degree reflector. The setup gives you two highlights on your subject, one on the upper torso(face) and one on the bottom torso (legs).
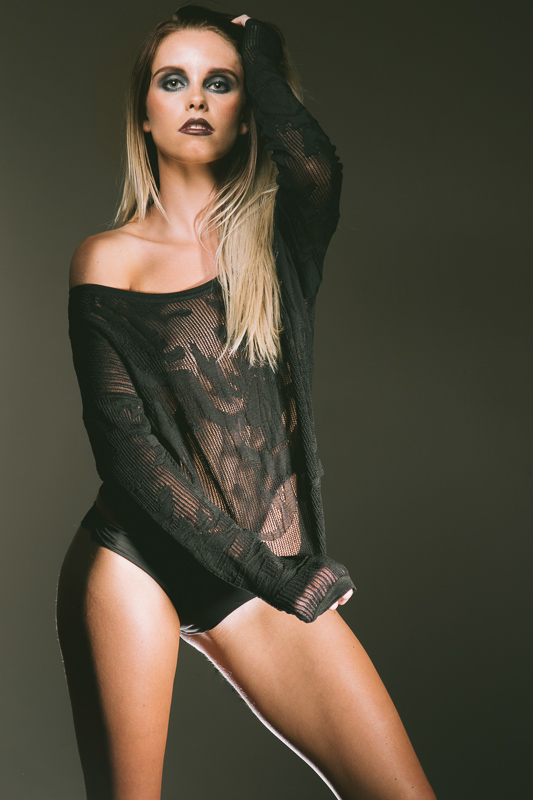
I have introduced a third light as a rim light in this image. This helps to shape the model and provide a contour highlight to the model.
Creating high contrast images requires you to have full knowledge of how each light shaping tools work. You will need to understand and foresee how shadows fall onto your subject. The intensity of the shadows is influenced by a wide range of things like camera setting, strobe placement, modifier used, and even how the model poses can change the contrast of the image. The key to success is understand your light shaping tools, start with a simple setup, practice and work your way up. There is no one quick formula in creative lighting.
Here is a list of the equipment that we have used for this shoot. Drop us a comment below if you want to find out more on the lighting setup.
- Canon 7D Mark II
- Canon 24-105mm f/4
- Profoto Strobes
- Strip box + Grid
- Beauty Dish + Grid
- Reflector + Grid
Where can I find the equipment seen on this site?
If you find this site useful and planning to purchase any of the equipment seen on this site, please show your support by purchasing your photo equipment at B&H Photo Video, or through any of the affiliate links seen on this site.
