If you like this post, help us share it

The most important piece of equipment you need for night sky photography is a solid tripod. You want a sturdy solid tripod, not any flimsy light weight tripod that can get blown way by wind. A strong tripod will last a life time, Manfrotto and Gitzo are two popular brands that you can’t go wrong with. If you have the money, consider getting a carbon fibre one which is much lighter to carry yet still gives you that strength you need. You will appreciate the carbon fibre if you travel a lot with the tripod.
You will also need a wide angle lens and a DSLR. For lenses, I recommend the Nikon 14-24mm f/2.8 and 16mm f/2.8 fisheye, they are my favourite lenses, especially the 16mm fisheye it gives you a 180 degree angle of view. For cameras, any DSLR is good enough these days. Another useful tool for night sky photography is your iPhone, you can get lots of useful night sky apps like Star Walk, as well as using it as a timer to time your exposure.
For this article, we are focusing on long exposure night sky photography which mostly taken with stars and milky way. For star trails, they are actually timed interval of multiple long exposures images which are not cover here.
The amazing thing about night sky photography is that with the advance camera technology and long exposure, we can capture images that we can’t see with our naked eyes. For the best results, the sky needs to be clear and you need to be at a place free of light pollution. A suburb surrounded by houses is not an ideal place, there are too much light distractions.
Night sky photography is quite simply, there are several rules that dictates the camera settings:
- Use the widest aperture possible, i.e. f/2.8 on a Nikon 16mm f/2.8
- Set you shutter to no more than 500/focal length of a second, i.e. if you are using a 16mm, the maximum shutter is 500/16 = 31 seconds. This is a general rule of thumb to avoid seeing star trail caused by the Earth rotation.
- Set you focus to manual and to infinity. Alternatively, you can set the focus to hyperfocal distance. But for simplicity ,set the focus to infinity is much easier.
Once you have defined the shutter speed and aperture, all you need is to set the ISO to give you the correct exposure. Trial and error and start with 1600 to see which one gives you the best exposure. Typically, ISO needs to be at least 1600, so using a full frame camera is better in the sense of controlling image noise. The dark the location, the higher the ISO you will need to use.
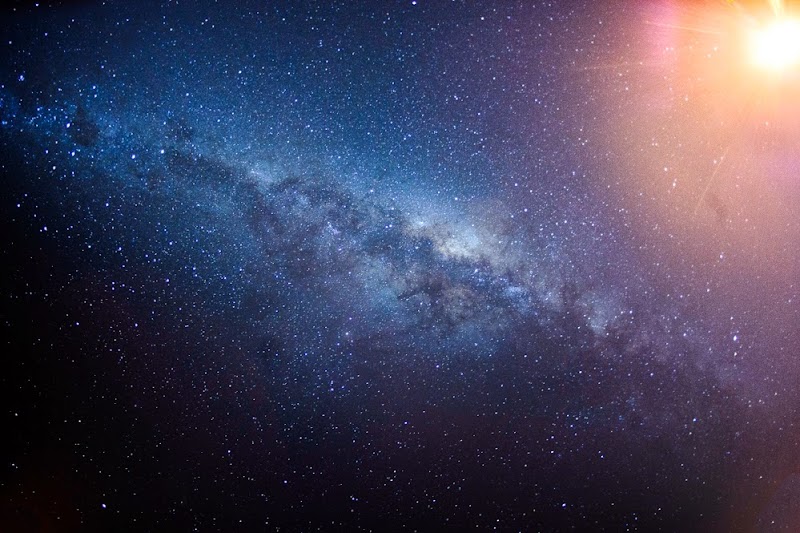
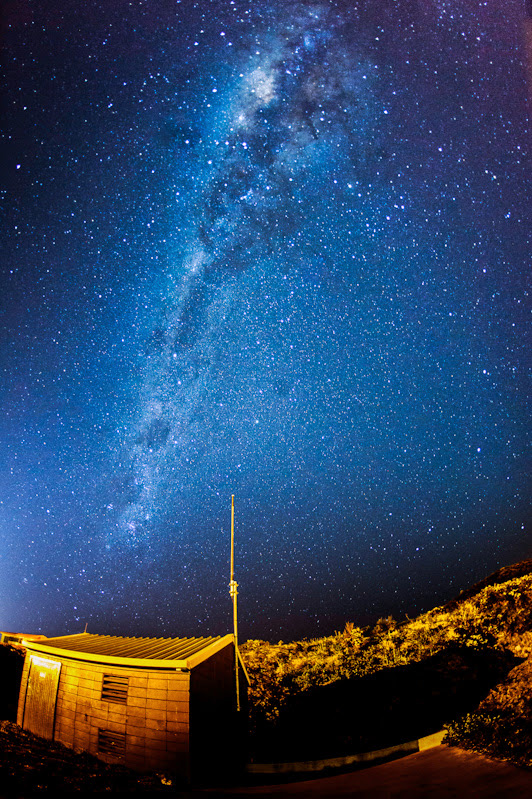
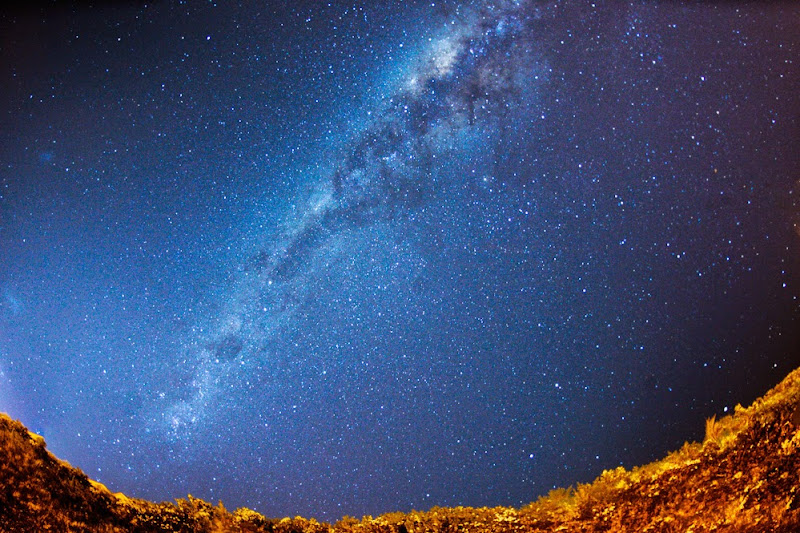
In the images below, they were taken with a Nikon 16mm f/2.8 fish eye, so my camera setting was f/2.8, 30s and the ISO I needed was 2000.
Gear used:
Where can I find the equipment seen on this site?
If you find this site useful and planning to purchase any of the equipment seen on this site, please show your support by purchasing your photo equipment at B&H Photo Video, or through any of the affiliate links seen on this site.
