If you like this post, help us share it

So when you turn up to a shoot, one question that you need to know the answer is how many lights do I need today ? There are times when you need a lot of lights and there are times when you can get away with just one or none. There is no right answer, but I would suggest to work as little light as possible but still creating the images that you want. Most often it is far better to not get too complicated with lighting setup, less is more as a general rule of thumb.
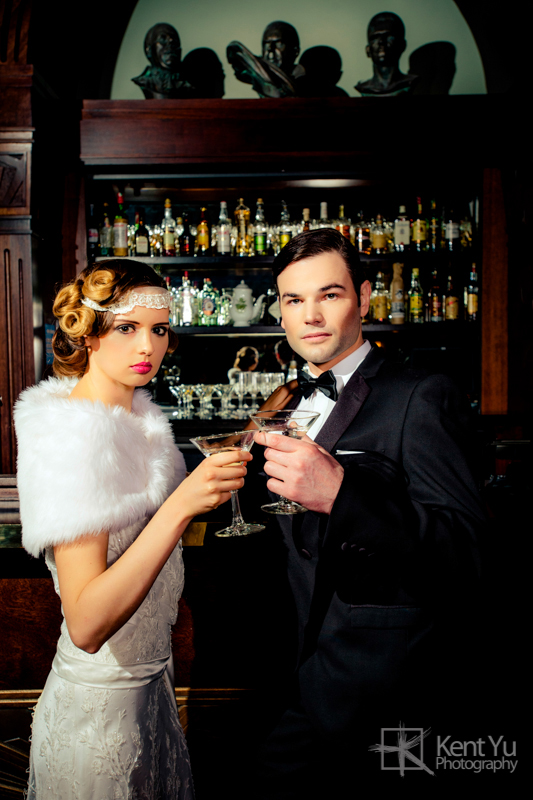
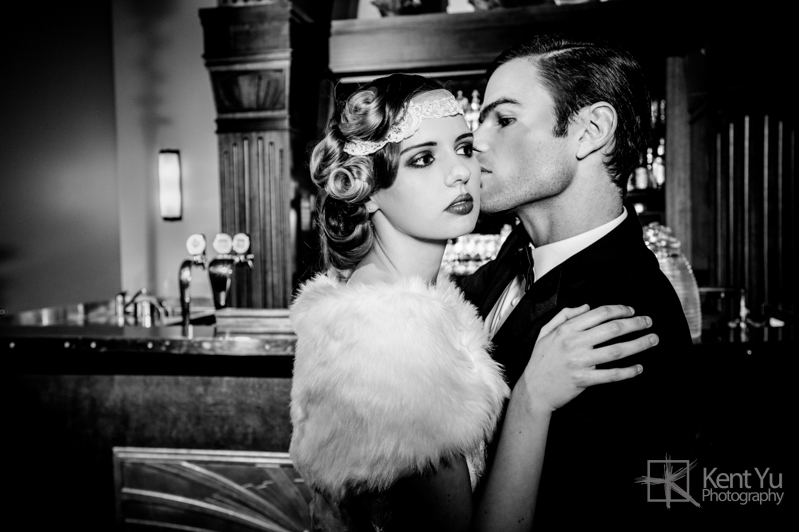
Our recent photo assignment at the Wellington Roxy Cinema required a number of lights to light up the setting. We didn’t really need powerful studio lights, but just a touch of light to open up some of the dark areas. This is one of the final images, any idea of how many lights were used?
First, the amazing crew we had were
Dress designer: Sophie Voon, an amazing local wedding dress designer,
Hair stylist: Qing Mei from Jean Jacque Hair Design,
Makeup artist: the talented Rin Vejsawarn.
For this photoshoot at the ROXY cinema, some people have asked us why are you using so many lights, I thought the D4 has a superb ISO performance already? So here, I will attempt to answer these questions and describe how we worked with multiple lights.
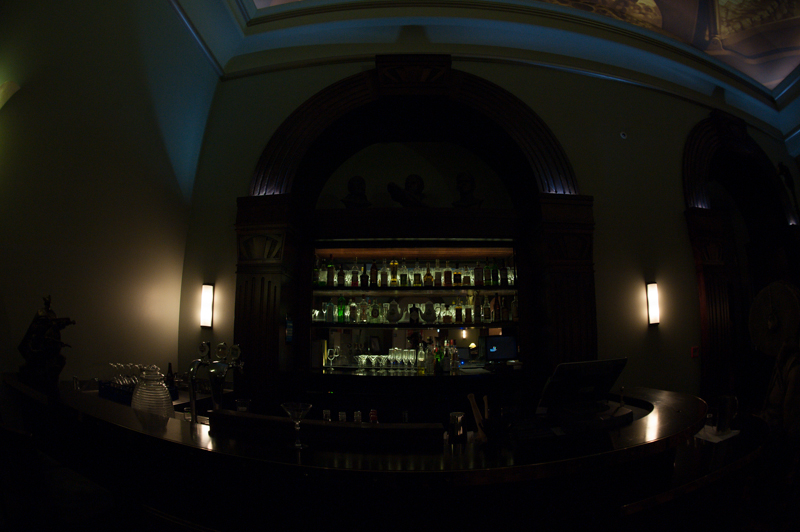
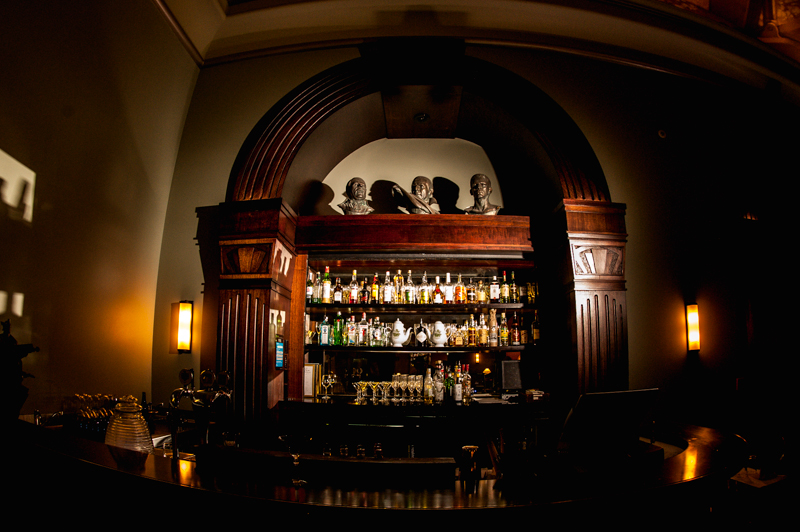
ROXY cinema is an amazing place with an arty interior, but there is one problem it is fairly dark in there. The photo below shows the ambient light at 1/20s, ISO 6400, f/2.8. Yes, that’s pretty dark and that kind of camera setting is not ideal for the type of shoot that we are doing. Ideally, we want to use a low ISO and a larger DoF, we also want to keep the shutter to fairly high too since I am shooting hand held.
This is what it looks like with 1/50s, f/4.5. ISO 1600. A pretty decent camera setting, but still not ideal. Nevertheless, it is still under exposed and you will notice the lightings are not even across the scene with the bar lit slightly less than the wall lights on the sides.
Excuse my shadow on the wall, we then added a light behind the bar to light up the bottles. The camera setting is still at 1/50s, f/4.5. ISO 1600, but tremendously brighter across the scene. While the bottles are lit up nicely behind the bar, the statues on the top are still in the shadow and needed to be opened up, so we added another light to open up the area. To trigger the lights, we are a fan of the Pocket Wizards and for lights we love the Elinchrom.
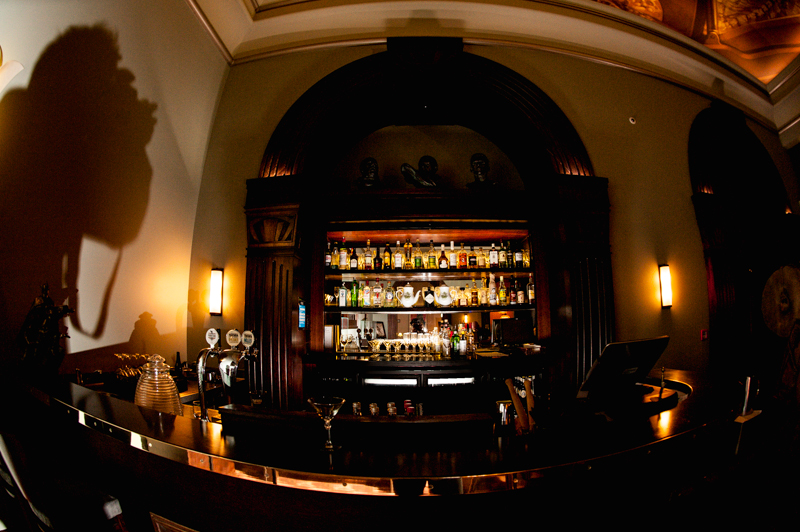
With the same camera setting at 1/50s, f/4.5. ISO 1600, here with two lights lighting up the statues and bottles separately. The whole scene is nicely lit by the two lights.
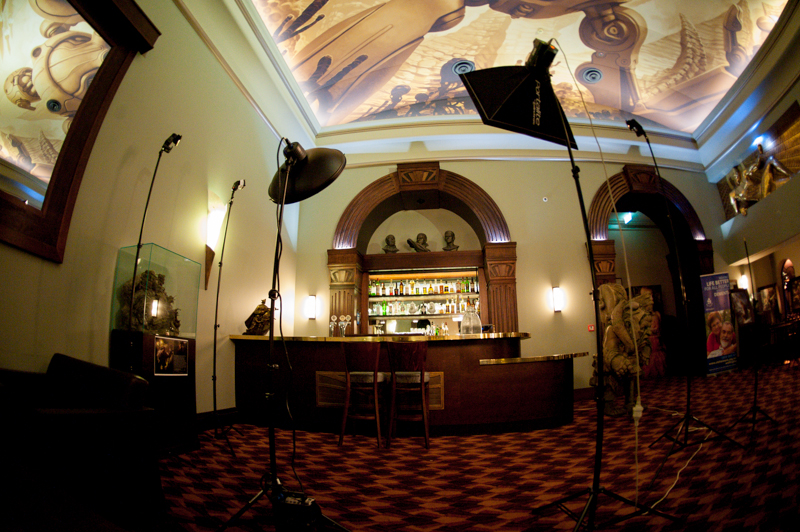
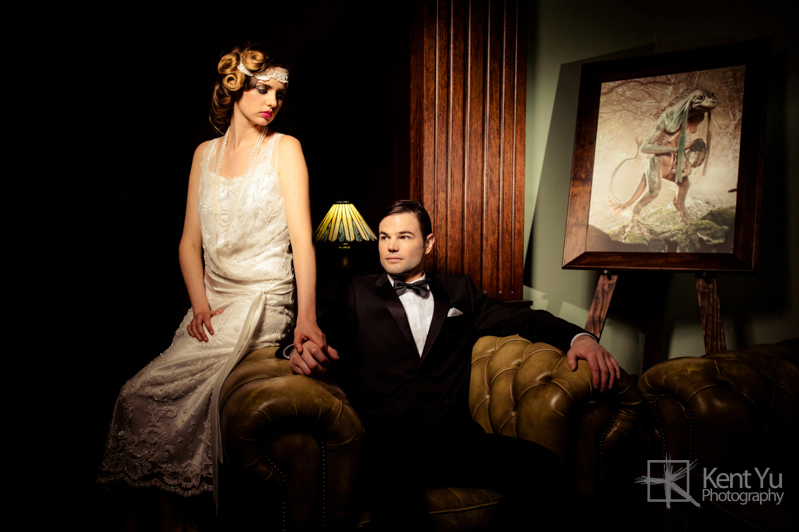
The last and final part is to light up our models which we basically used a gridded beauty dish and a hair light from the left to bring out the details of the amazing pin curls on the hair. There was also a floor light that we use to brighten up the bottom of the dress for those pull back full body images. So there you go a 5 light set up with each light specifically lighting up different part of the scene. The final camera setting used was ISO400, f/5.6, 1/100s. That’s an eight stops difference from ISO6400, f/2.8, 1/20s.
A lot of people like to use natural light and I have to admit there are some real nice work out there using natural light only (when done correctly). As I have said if you can get away with no light and your client likes it then by all means do it, otherwise if you are in a setting that needs light, you need to know how to light your scene, where to place the light and how to operate them effectively. And I don’t mean putting a flash on top of your camera. Lights are great tools and they make a huge difference if you use them correctly.
Here are some of the images. Any comments, let them rip at the below !


Where can I find the equipment seen on this site?
If you find this site useful and planning to purchase any of the equipment seen on this site, please show your support by purchasing your photo equipment at B&H Photo Video, or through any of the affiliate links seen on this site.
